A Git Workflow Walkthrough – Reviewing Pull Requests Locally
Posted by Jim Vallandingham
![]()
In many cases, a visual check of the changes via the PR page on GitHub is enough to give a +1 to changes. That’s how we did things in our previous walkthrough post.
But sometimes, you want to try things out locally downloaded to your own machine to get a feel for what is really going on and try out the changes for yourself. Some changes are not particularly visual or are complex enough that just looking at the code doesn’t provide enough context. In these cases, why not just try out the new code on your own machine to ensure it’s working as expected? Here’s how to do it.
Dealing with Existing Changes
Before you get started, you need to get your local environment in a state ready to pull down the new code. This means dealing with changes you have made locally.
Optimally, you will be at a good stopping point in your own work, so that you are mentally prepared to review someone else’s changes. You are done with the feature or fix you have been working on for the last few hours and are ready for a break.
But sometimes this isn’t the case. There’s a PR that’s urgent and needs to get looked at Now! There is a lull in your creative process, and you want to perform some other tasks before trying to tackle your problem again. Someone just asks you to take a look—and you want to get back to them before they go to bed. There are countless reasons why you might have unfinished business in your local repo.
Option 1: Use Your Feature Branch
You can use your feature branch to check in your current changes simply into your local feature branch before pulling down someone else’s. This is another great benefit to feature branches, and why you should be using one for each set of changes you are working on. They are for your changes only and are meant to be used for small commits as you work on a particular feature or problem.
A git status will tell you if you might have forgotten to create a feature branch before you started working on a problem. If you did, referring to above, and assuming you are already on ‘master’, you can just git checkout -b feature_name, and then just check in your changes there.
Option 2: Use git stash
If you really don’t want to check in your changes for some reason, git also provides a handy nook to hide things in with git stash. Git Stash is provided—as the headline says—for when “things are in a messy state and you want to switch branches for a bit to work on something else.”
Using git stash in its basic form is straightforward:
git stash save “Description of my changes”
This will stash your local, uncommitted changes, thereby making your repo clean and free of changes again, which allows you to move on to the PR viewing. Note how only changes to files that have been previously added to your project will be stashed. New files or folders will stay where they are, so you should take care not to overwrite them!
Note that you can combine the use of feature branches and git stash. Even if you are on a feature branch, but don’t feel like your changes are “commit worthy”, you can push your uncommitted changes onto the stash from that branch in the same way.
Pull Down PR
Okay, any changes you have been working on are taken care of, your local environment is in a pristine state, and you are now ready to grab the pull request. It turns out there are a few ways to do this too!
Option 1: GUI Client
As GitHub’s documentation suggests, you can use the GUI GitHub client to pull down remote branches visually.
Option 2: Pull Down Branch
A quick way to grab the PR from the command line is to pull down the remote branch that the PR is based on. The commands would look something like this:
git checkout -b BRANCHNAME origin/BRANCHNAME
So, for the branch for this PR, I would do:
git checkout -b module_experiment origin/module_experiment
Option 3: Pull Down PR Branch
The pull request itself can also be fetched. This provides a read-only copy of the branch, which can be useful as a reviewer.
git fetch origin pull/ID/head:BRANCHNAME
Here, ID is the numerical ID assigned to the PR, which you can see in its url or at the top of the PR page, and BRANCHNAME is the local branch name you want to give it.
For example, if we had a repository important_project with a pull request with an ID of 37
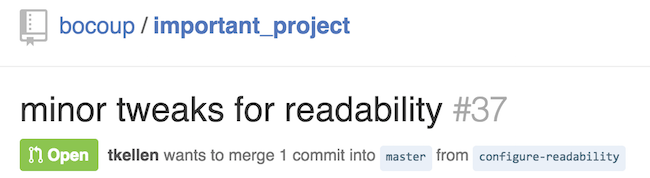
I’ll grab this PR using the following command:
git fetch origin pull/37/head:readability
Which gives me a new read only reference to the PR.
Now, I can switch to this branch in my local repo:
git checkout readability
In all cases, the PR gets into your local repo for experimentation. With options #1 and #2 other teammates can also push changes back into the branch, so fixing issues on a pull request could be a collaborative effort if the issue demands it.
Finally, if keeping these commands in your head is getting a bit difficult, try using a few git aliases to help! Corey Frang has made a few great pull request aliases to get you started. With them installed, you would just need to run something like:
git pr 37
Which would get pull request #37 of your current project for you. Pretty nifty!
Retrieving Local Changes
Once done with the review, it’s time to get back to work.
If you used a feature branch approach and checked in your changes, you can just switch back to your feature branch and go.
git checkout your_feature_branch
If you used stash, you’ll want to pop those stashed changes off the stash, which actually works like a stack and allows you to stash many things. Back in your feature branch, you can run:
git stash pop
And all stashed changes will be back locally and uncommitted, just the way you left them.
For the fourth and final installment of the Git Workflow Walkthrough, we will look at merging this pull request into your master branch. Stay tuned!
Part 4: