A Git Workflow Walkthrough – Merging Pull Requests
Posted by Jim Vallandingham
We are in the homestretch with our git workflow walkthrough. I knew we could do it! Last time, we looked at a few ways to review pull requests. In this final (for now!) installment, we will merge our reviewed changes back into master.
Once your pull request reviewer is satisfied with the changes, you’ll get the coveted +1 (or equivalent affirmative emoji), which means it’s time to get this thing merged!

Additional suggestions, if you feel the scope is small enough, can be dealt with in a separate PR or added as another commit to the existing one. I typically like smaller PRs to bigger ones, so if I can justify splitting out additional suggestions into separate issues, I go that route. A good rule of thumb is to have one PR per issue.
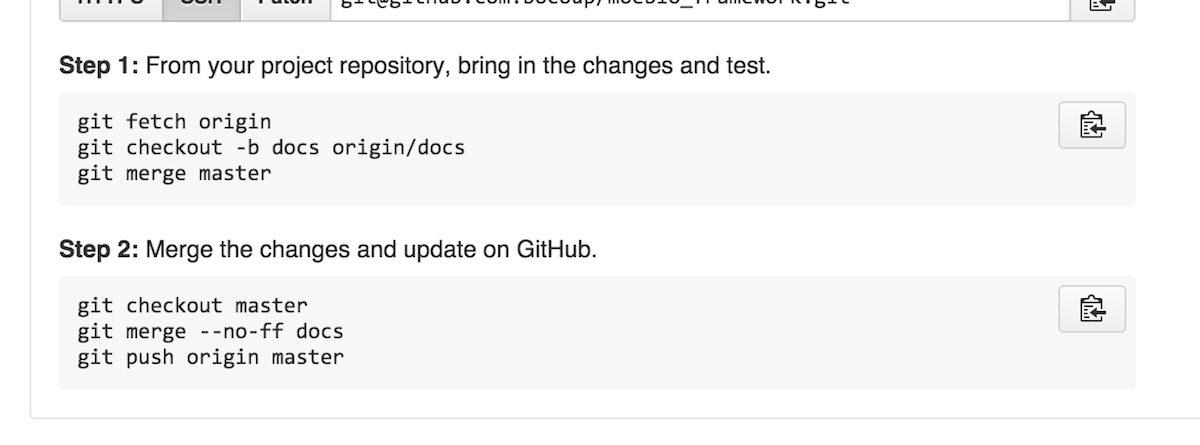
If you are lucky, the PR can be auto-merged, and you can do it right inside GitHub with just a few clicks!
However, sometimes (and not often, honestly) the magic doesn’t quite work, and you need to return to the command line one final time for the merge.

Luckily, the instructions for getting started are right there and just a click away.
First, make sure you have the latest master in your local repo.
git checkout master
git pull origin master
Then switch back to the feature branch and merge in master
git checkout docs
git merge master
This should fail, and it should tell you which files you need to look at to resolve the conflict.

Here, I just have one file that needs attention: gruntfile.js
After opening it up in my text editor, I look for the <<<< indicating a merge conflict.

I modify the code until all of the conflicts are dealt with.The top section, before the equals chain is what was on the remote master branch before your changes came in. The bottom section is your local stuff. Picking out what to keep is a decision only you can make – but I know you’ll make the right one.
Then I add the file to staging.
git add gruntfile.js
The rest of the merge is already in staging, so now I can commit the merge
git commit -m 'merged master'
Once all of the conflicts have been resolved and the commits are made, it’s good practice to double check that none of the conflicts resulted in broken code. This step is particularly important if someone was modifying the same area of code as your PR.
Now, we can switch back to master to merge this PR into the main master branch.
git checkout master
git merge --no-ff docs
git push origin master
This is more work than the auto-merge, but with small feature changes, this manual process is typically the exception to how merging works and not the rule.
An easier approach
Ok, so we went through how GitHub suggests you tackle the problem of merge conflicts. When talking through this process with my co-worker Yannick, he provided a slightly simpler process that he uses to get his pull requests into a mergeable state.
He makes sure the local master is synced up with the remote one, then on the local branch used to generate the pull request, he just merges in the latest version of master.
git fetch origin master
git checkout docs
git merge master
This will cause the merge conflict, same as before. So deal with that as you see fit. Now, after the merging is done, we can push back up to the same docs feature branch, and update our pull request with the merge already dealt with. This means we can use the GitHub functionality to merge it from the website!

The alternative process has the added benefit of being able to easily test your changes after the merge locally. This gives you greater confidence that the merge went as expected and everything is cool.
Delete remote branch
Either way, once the PR is merged into master, we can remove the remote branch to keep our GitHub project cleaned up.

You can also remove the remote branch via the command line by running:
git push origin :docs
Note the : prefixing the name of the branch. The : separates the name on your local repository from the name on the remote repository, so :docs means “push nothing to docs” which deletes it.
And we are done!
We’ve covered a lot of ground here. Now you have the full picture of the mighty Pull Request. You can make ‘em, and you can knock ‘em down!
Remember, these processes and workflows are all suggestions and tips rather than hard rules to help you communicate better with collaborators when building new things together. The technical details of the tools we use can obfuscate the fact that, at the end of the day, we are people just trying to communicate with other people in meaningful and effective ways.
With these tutorials, I’ve broken down some of that technical complexity to encourage users to do more with their existing tools and engage in these conversations with their collaborators. I hope these walkthroughs give you the confidence you need to start using feature branches and pull requests to take your Git collaboration skills to the next level.
