A Git Workflow Walkthrough – Feature Branches
Posted by Jim Vallandingham
When it comes to learning Git, most folks I’ve talked to (myself included) have taken the slow and gentle path toward becoming proficient by adding it incrementally to their existing development processes.
We begin by just running git init on an almost finished project and adding everything with a commit message such as start. Then, we learn a bit more about good commit messages and chunking up changesets. Collaborating through GitHub and merging comes next.
You might have noticed or experienced that each time, we trade a bit of an increase in workflow complexity for an increase in the capabilities of what the tool provides.
Here we visualize these complexity particles surrounding the workflows.
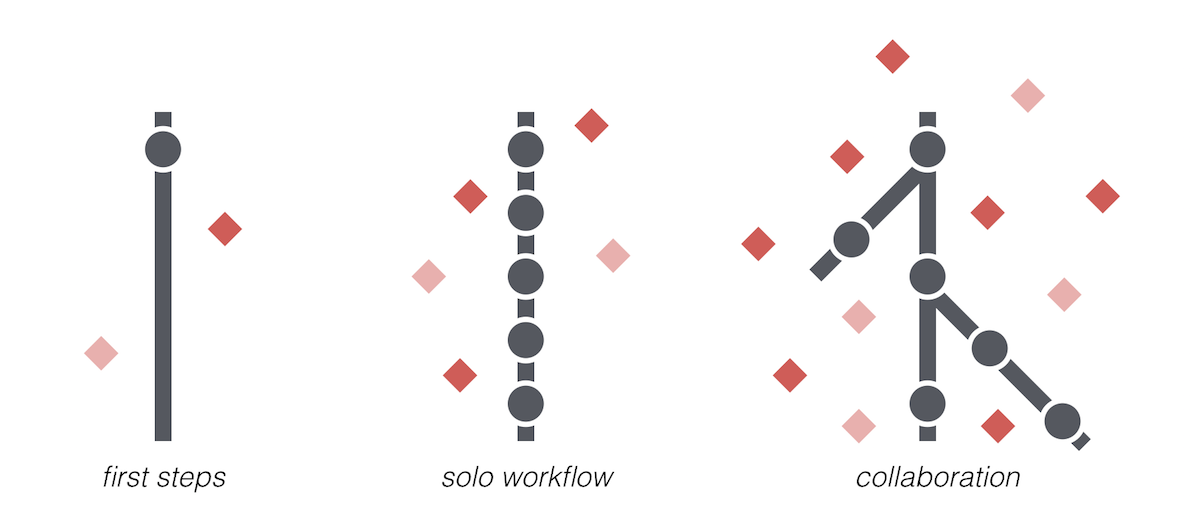
With this extra complexity comes a much cleaner workflow that keeps you focused on just a single task at a time and helps to prevent you from stepping on too many toes when it comes to integrating changes into the code.
This multi-part series of walkthroughs will encourage you to integrate a bit more complexity into your daily git routine through the use of feature branches and pull requests via GitHub.
Who is this Series For?
This series has been developed for folks at a particular stage in their Git usage.
- You are working with other people on a project
- You have been using git for a while so you understand the basics of adding changes and commits and such
- Your project is on GitHub and things are working ok, but you are looking to improve the workflow you and your teammates are using
- You are looking for relatively easy ways to speed up new feature integrations, avoid merge conflicts as much as possible, and sometimes perform code reviews
If this description sounds familiar, then this series is for you!
These walkthroughs give examples of how to get started with a simple collaborative workflow. I’ve organized it to be a day-in-the-life example of how you might begin to integrate these processes into your own routine.
First up: Feature Branches!
What’s in a Feature Branch?
A feature branch is simply a separate branch in your Git repo used to implement a single feature in your project. When “using feature branches,” you are creating a new branch for each new feature you develop, instead of just checking in all your changes into the master branch (which is typically the name given for the main development branch).
A “feature” is really anything you want it to be—a bug fix, new functionality, or even just more documentation. In fact, some call these “topic branches” to indicate the general nature of what they can contain. The general goal is to keep them small and focused. Once the feature is complete, the changes are merged into master (hopefully using a pull request—which we will talk through making one later) so that others now have access to your new changes.
Feature branches are nothing new. In fact our own Matt Surabian has written up a great reference for how feature branches fit into more formalized Git workflows.
Feature branches let you concentrate on a single specific task at one time. They let you use Git to check in on small changes while protecting collaborators from your changes until the feature is “complete.” What’s more, if you need to jump off of a particular feature to work on something else, such as an urgent bug fix, you need not worry about clobbering your changes or corrupting your repo.
Ok, enough on how great feature branches are. Let’s look at how you might use them in your daily workflow.
Quick Overview
Here are the basic steps to start using feature branches in your project. We will dive into the details next.
- Start on
master - Create a new feature branch
- Implement your changes on that branch
- Push the feature branch to your remote repo
- Create a pull request for your new changes
Ok. Let’s see how each of these steps is done!
Start on Master
When starting a new feature, I make sure to start with the latest and greatest of the codebase from the main development branch—this commonly referred to as master:
# switch to the master branch
git checkout master
# fetch the latest changes from the remote git repository
git pull origin master
This reduces complications of dealing with out-of-date code, and reduces the chances of merge issues.
These commands also assume that you are working from a GitHub project you can commit to. Origin is the nickname typically given to a remote repository that serves as the main shared version of the codebase. When using GitHub, origin is typically the repository on GitHub.
Create a Feature Branch
Now, I create a local branch to house the changes required for the new feature.
Here again we are using the term ‘feature’ loosely. It’s a logical grouping of code and configuration changes to enable a new portion of the code, fix an issue, or improve existing code. The idea is to use your best judgement and to try to keep the scope of the changes limited to a single logical issue.
git checkout -b add_linting
This will create a new branch called add_linting and check it out. We can think of this new branch as a copy of master, because it was what we had checked out, and it keeps the contents just as they were. We can now make new changes in our new branch without affecting the master branch.
We could argue about branch naming practices, but so far I haven’t found naming to be that big of an issue.
git status
will show we are on the new branch and ready to work.

Modify code
Now, we implement the new feature / bug fix. Work as you would normally, making small incremental changes and checking them into the local feature branch.
Use descriptive comments when adding new changes so the history of changes is easy to follow. They can still be short and succinct, but be clear.
One useful way to think about commit messages is that together they make up the recipe for your project. “Add linting to application code” or “Add minification step” are very clear explanations for what your code is doing.
Clear commits allow your team to stay up to date with what’s happening in the code-base. They keep others more informed about the changes being made. They also help when you are looking back at the history of the project (usually when you are trying to understand when a bug was introduced). Seeing clear commit messages in your git history can help you hone in on issues a lot more quickly. And, as your project and team grow it can be worthwhile to standardize on commit message content and format, similarly to how you might with coding styles. Check out jQuery’s Commit Guidelines for a good example of this.
Push Feature Branch to Remote
Ok, you are done with the implementation. You’ve checked and double checked the changes, and you are now ready to have them integrated into the main code base.
The first step of the review process is to push your feature branch to origin.
git push origin add_linting
This will push your current branch to a new branch on origin with the same name.
Of course, you can do this multiple times during the development process if you want the peace of mind of having your changes distributed, or if you want another set of eyes on it even before the pull request.
Create Pull Request
With your feature branch now pushed, navigate to the project’s GitHub page (you could also check out hub which provides command line tools for working with GitHub, in this case hub browse would open the GitHub project page for you). On the main page, you should see a new little toolbar that shows your feature branch listed and asks if you want to create a pull request from it. So let’s do it!

When creating a pull request (or PR, as they are known by all the cool kids these days), you want to summarize the changes being made for this new feature and give it a descriptive title.
You can reference existing issues or other PR’s by typing ‘#’ followed by the issue number or any word from the issue title. A little pop-up should help with picking the right issue number.

It’s a good practice to add screenshots or other images if there are visual changes associated with your PR. Thankfully, GitHub makes it really easy—just drag your image into your post, and GitHub will upload it for you.
Once you have written out the description for the new PR, submit it and sit back for a bit while a teammate reviews. You can always get their attention by mentioning them by their username. For example: “Please review this updated form, @iros.”
And that’s it!
You’ve leveled up on your Git capabilities and are now an official Feature Branch Pro 3000. Your complimentary stickers should arrive in the mail in 3 to 6 weeks.
Next up, we will look at the pull request review process and how it can be done efficiently on GitHub. Keep an eye out for part two of this series, which should be up next week.
Part 2 is here: