JavaScript: Relay Control with Johnny-Five on Node.js
Posted by Rick Waldron
The Johnny-Five Tutorial Series is geared towards Arduino programming on Node.js, using the Johnny-Five framework. Get caught up here.
Do not attempt this tutorial with a voltage source greater than 24V
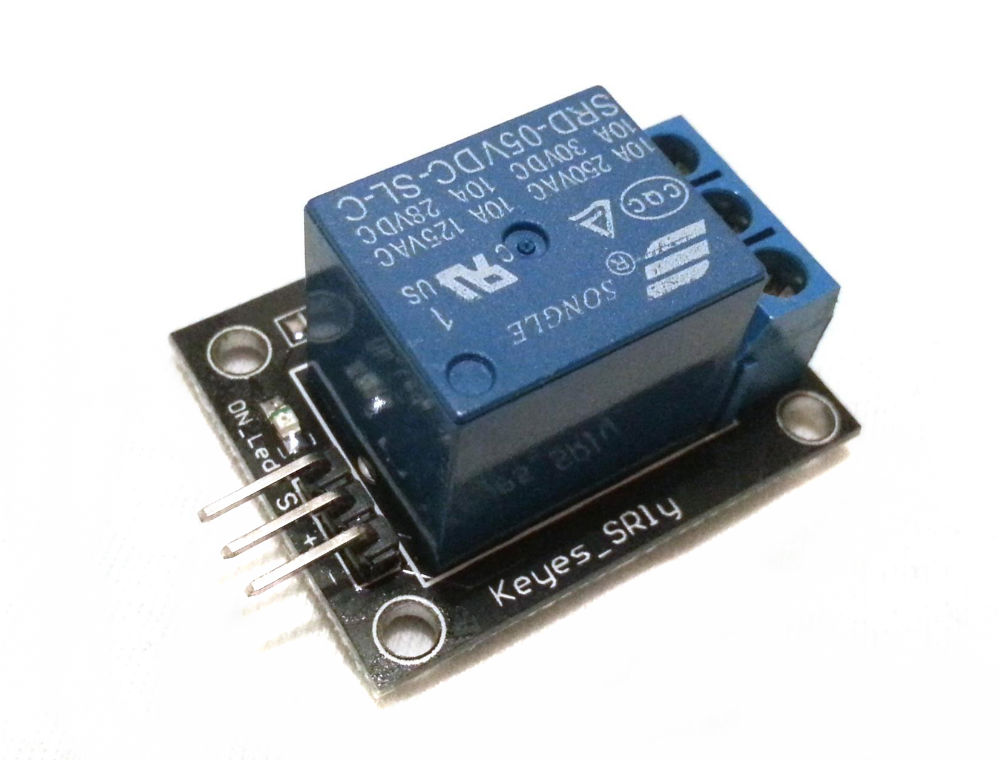
A Relay is a type of actuator, or electrically controlled switch, that allows controlling one circuit with another circuit. The controller circuit is completely independent of the larger voltage power supply circuit (most applications will fall in the low-voltage range, which is defined by the IEC as 120-1500V DC). The Relay used in this tutorial will activate on an input of 5V and deactivate at 0V.
Relays have two operational modes:
NO, Normally Open. When provided with a voltage supply, the relay switch will close, completing the circuit.
NC, Normally Closed. When provided with any voltage supply, the relay switch will open, breaking the circuit.
These modes correspond to a constructor options property in Johnny-Five’s Relay class. The common case “NO” is the default, however a program could explicitly set the type to “NC” and maintain the expected electro-mechanical behavior:
// Create a Normally Closed relay instance
var relay = new five.Relay({
  type: "NC",
  pin: 10
});

// If NC wasn't specified above, this would
// actually turn OFF the relay. Since it has been
// specified, the relay will turn ON.
relay.on();
Parts:
- Arduino, Intel Galileo or other Johnny-Five supported board.
- Relay Breakout *
- Extension Cord
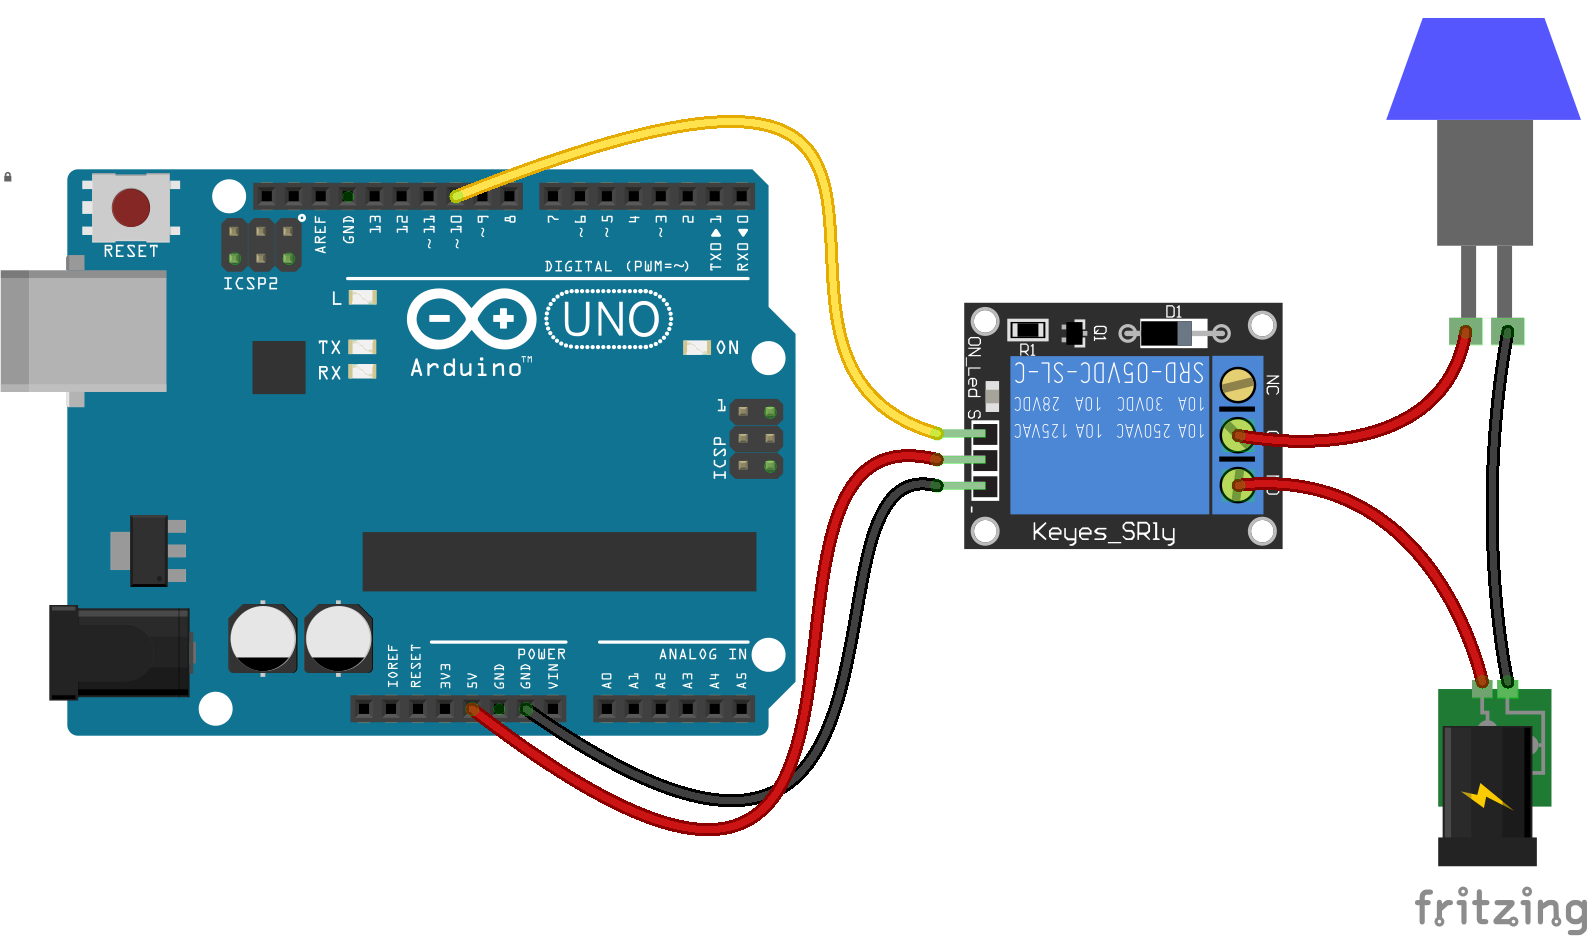
Connect the following:
- Signal to D10
- Power to 5V
- Ground to GND
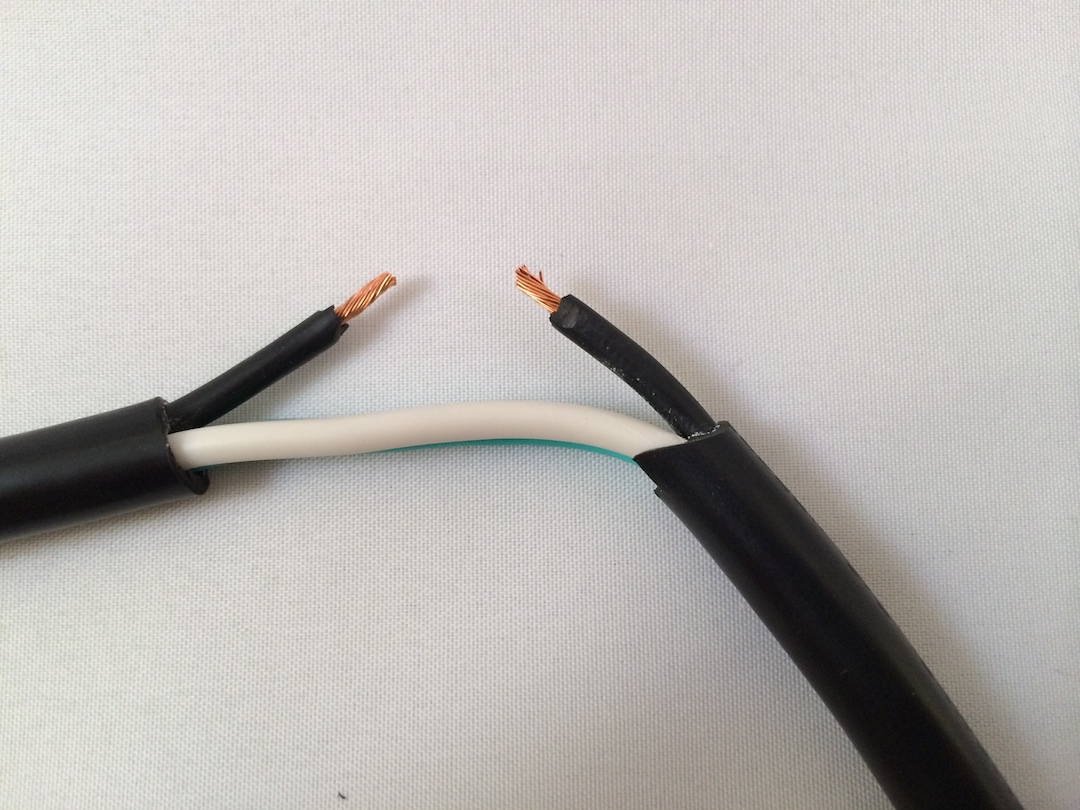
With the Extension Cord unplugged, carefully cut away a section of the exterior rubber sheathing and cut the hot line:
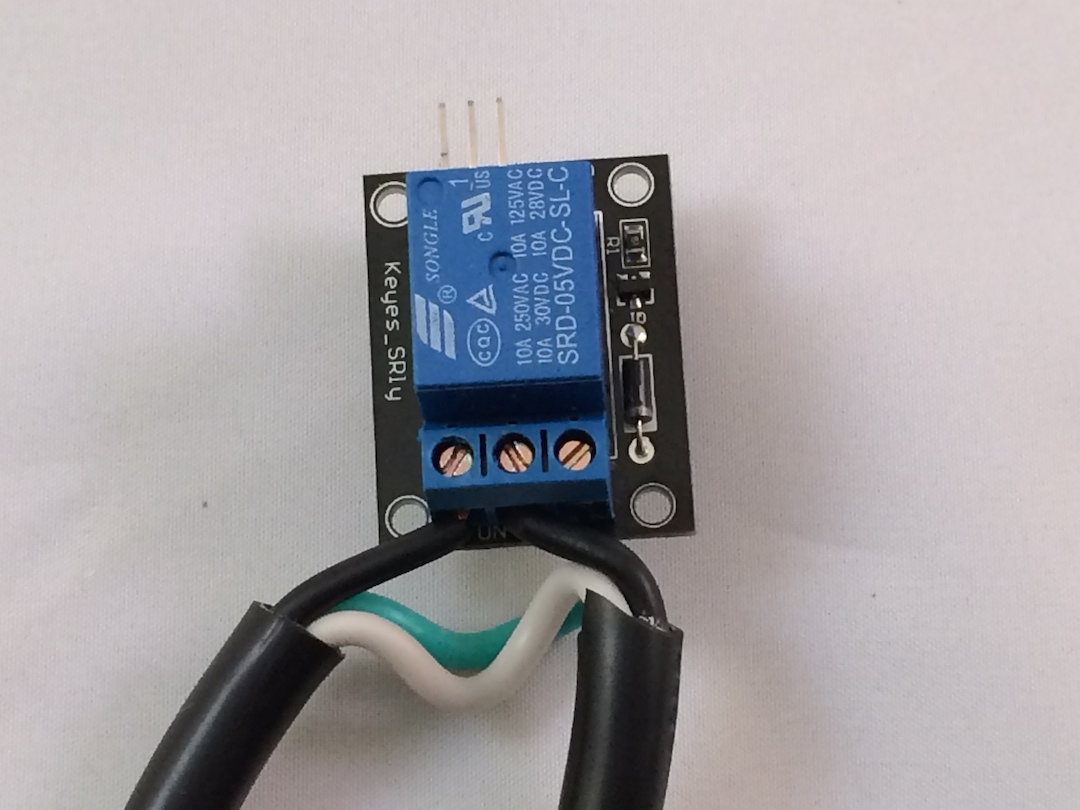
Then, connect one side of the hot line to the NO terminal and the other side to COM terminal:
Plug a lamp into the extension cord’s socket, then plug the extension cord into the wall outlet.
DO NOT TOUCH ANY PART OF THE RELAY WHILE IT’S PLUGGED INTO THE ELECTRIC OUTLET.
Save the following as relay.js:
var five = require("johnny-five"),
  board = new five.Board();

board.on("ready", function() {
  var relay = new five.Relay(10);

  // From the REPL, toggle the lamp on and off by calling:
  //
  //   relay.toggle()
  //
  this.repl.inject({
    relay: relay
  });
});
Run node relay.js to see the program in action!
Homework
Based on the simple program above, how might it be extended to trigger the relay based on some sensory input? What kind of high-voltage devices could be controlled with this Relay? Post links to your own solutions in the comments!
Special thanks to my fellow Bocouper Trevor Sayre for his brilliantly crafted Fritzing Components.
- The relay used in this tutorial is included in the Sun Founder 37-in-1 Sensor Kit. Others
** This tutorial was inspired by the Relay tutorial for TinkerKit
EDIT Thanks to Andrew Krespanis for indentifying the misuse of the term “high voltage”. Corrections have been made to correspond to the IEC 60038’s voltage range definitions.