Controlling the RobotsConf Sumobot with Arduino Uno & Johnny-Five
Posted by Rick Waldron
In the previous article, I walked through inventory, preparation, calibration and assembly of the SumoBot Kit that was provided to all attendees of this year’s RobotsConf.
In this article, I’m going introduce a simple program to for controlling the assembled SumoBot with an Arduino Uno. This entire article will assume that the you have already read Assembling and Preparing the RobotsConf Sumobot with Johnny-Five and completed all of the preparatory and assembly tasks described therein.
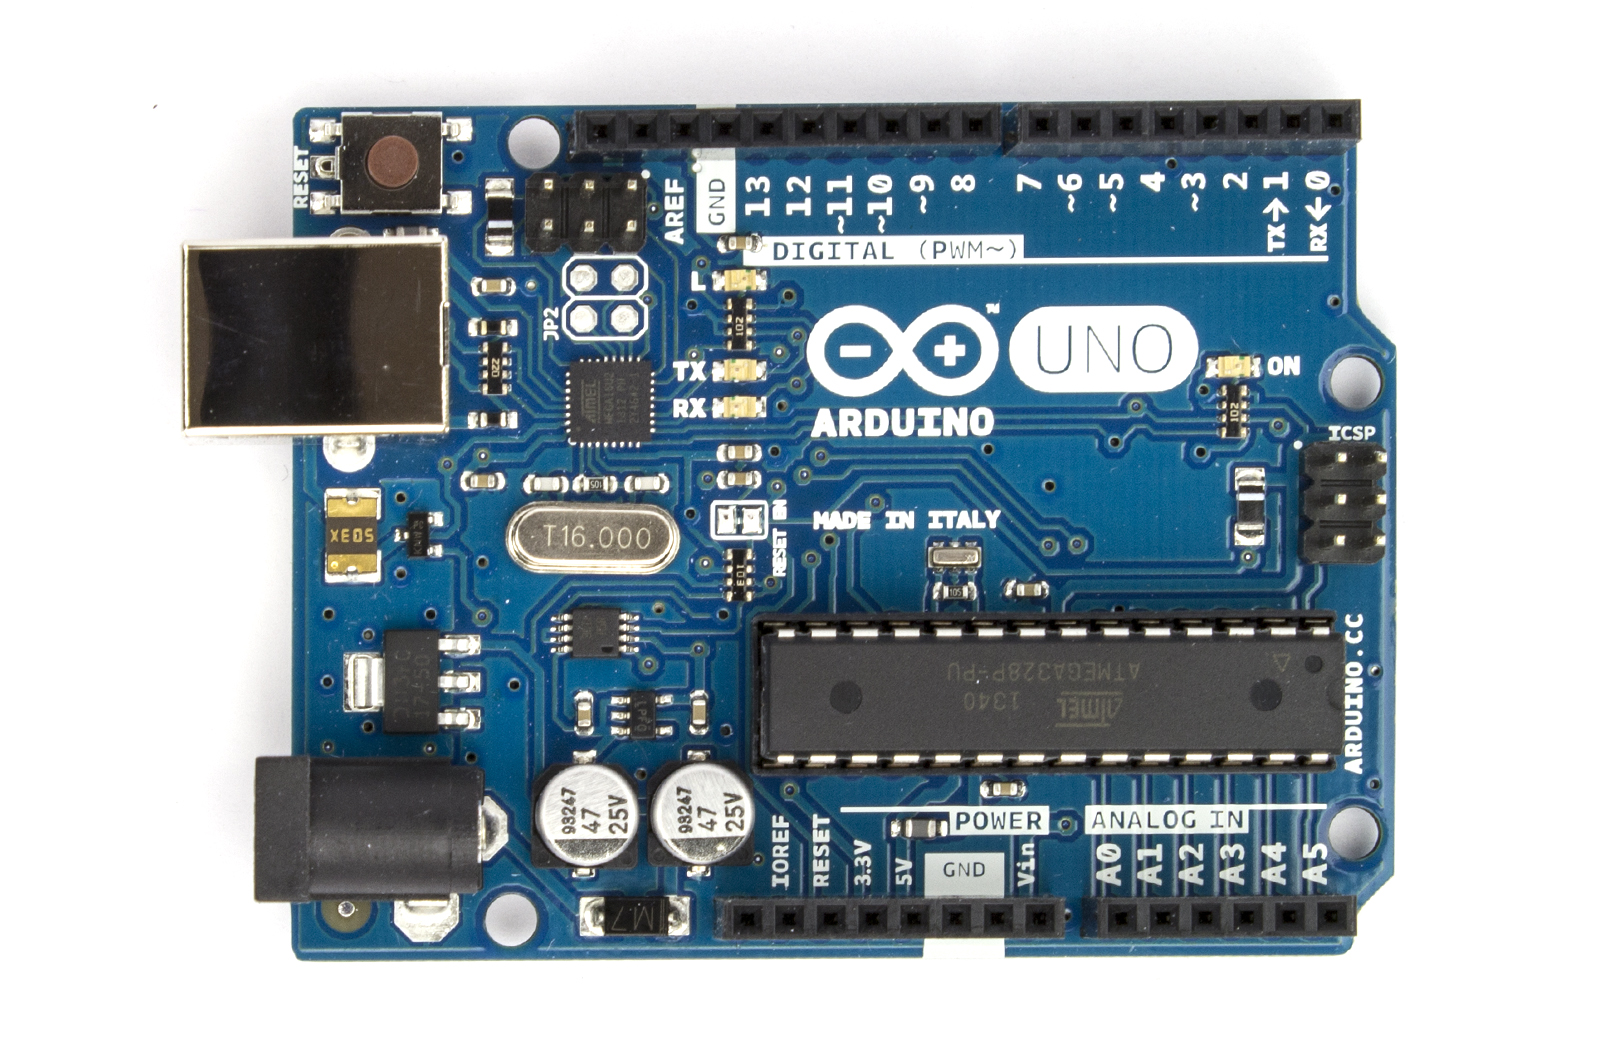
Arduino Uno
Of the thee controllers in this series, the Arduino Uno is probably the most ubiquitous, but at very least the most battle tested. Here’s the Arduino Uno entry from the Board Selection section of Assembling and Preparing the RobotsConf Sumobot with Johnny-Five:
| Board | # Pins | # Digital IO | # Analog IO | # PWM |
|---|---|---|---|---|
| Arduino Uno | 20 | 14 | 6 | 6 |
Note that communication with the Arduino Uno can be done via USB, Xbee, or Bluetooth.
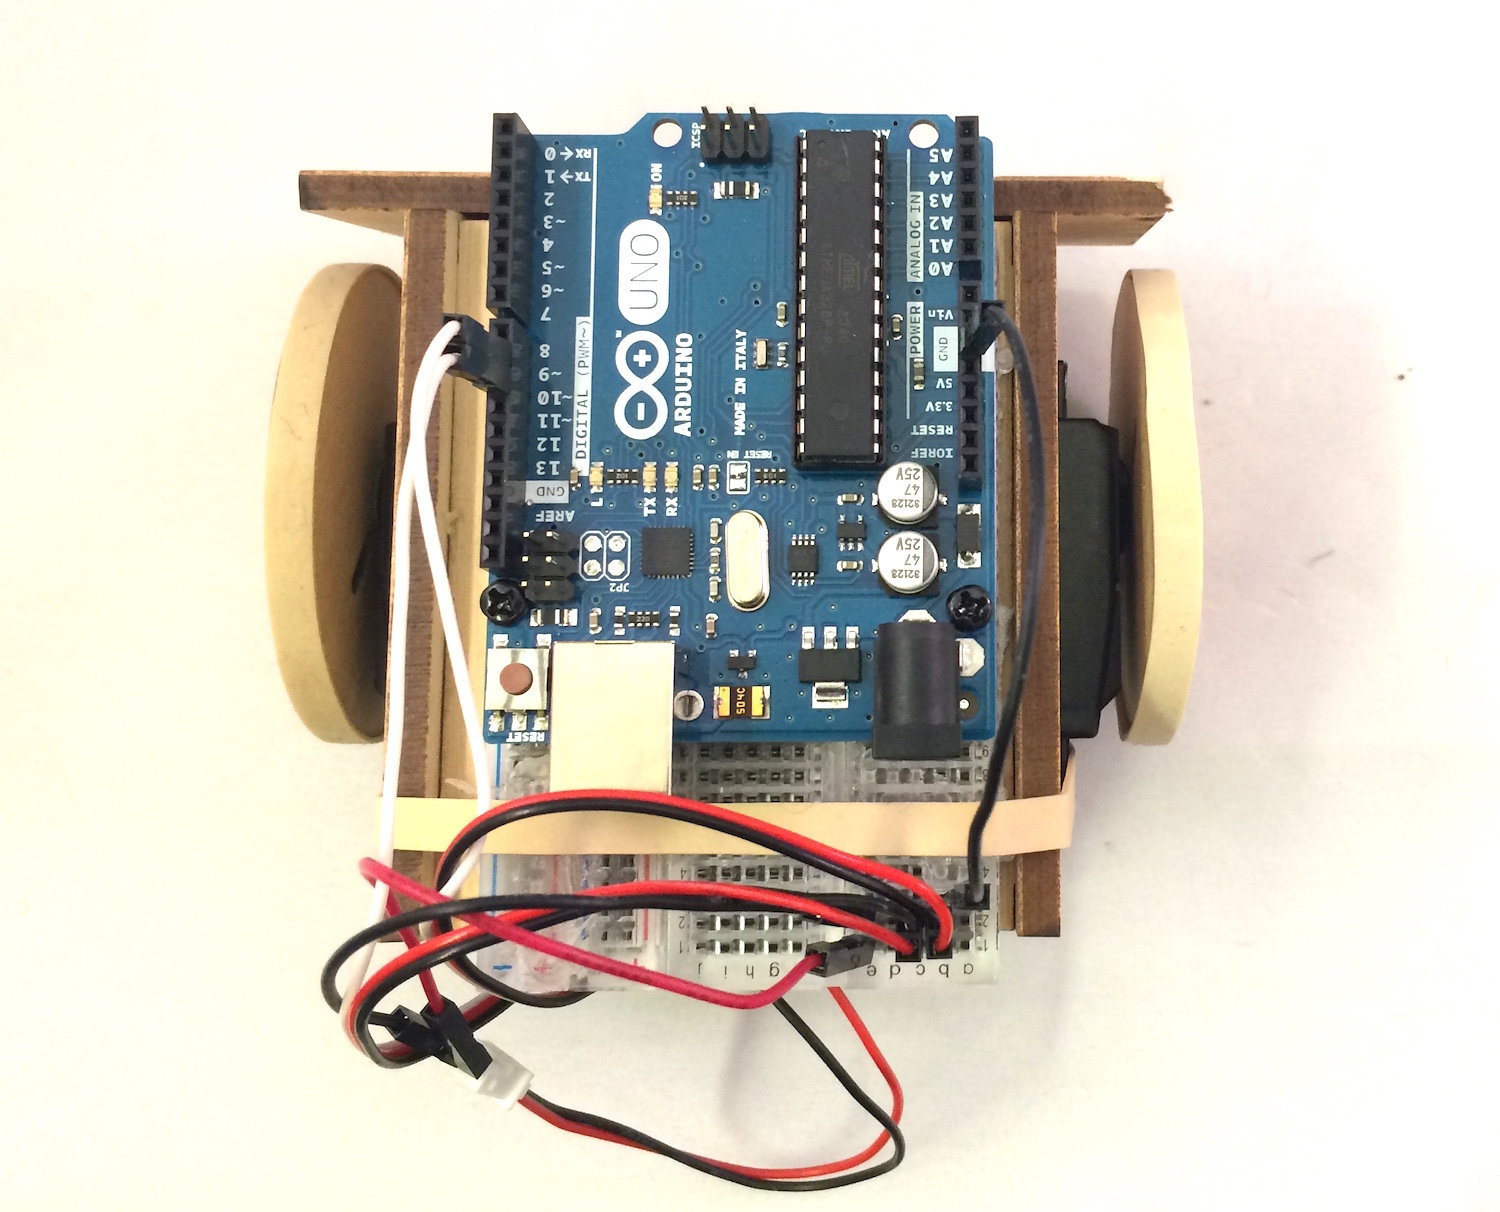
SumoBot Circuit
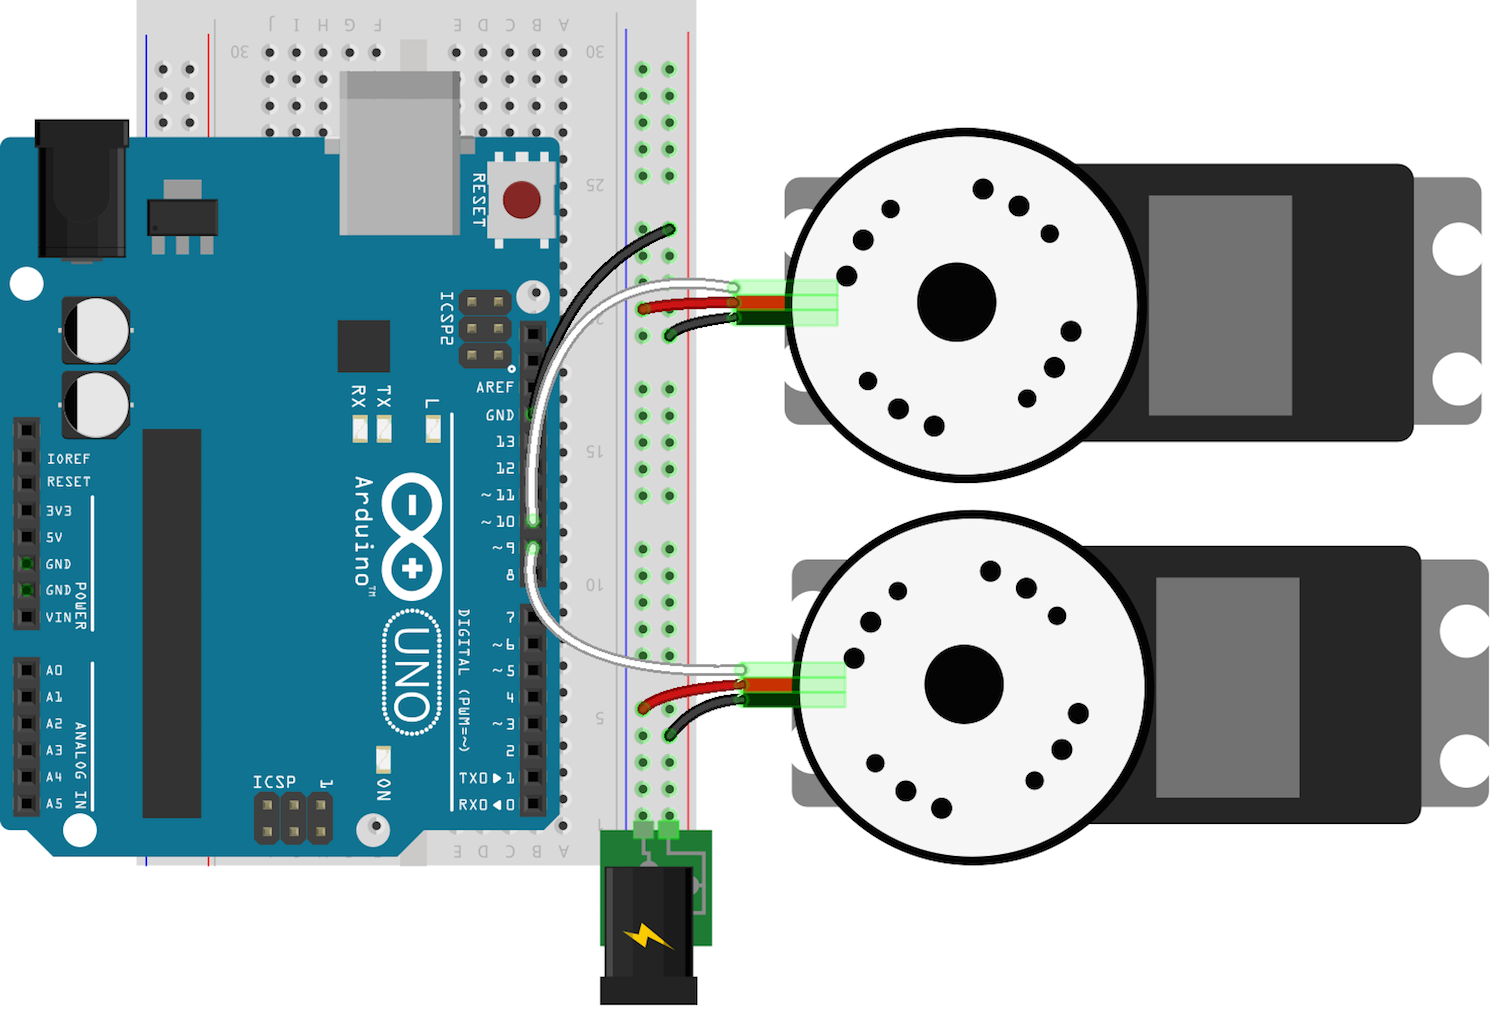
Here’s the fully assembled circuit, attached to the bot:
Controlling The SumoBot
The controller program has been adapted from the original program provided in the SumboBot Jr. repo and is available via npm. The controls library, keypress, must also be installed.
npm install keypress sumobot
The keypress module will turn your laptop into a remote control device for the SumoBot, using the following keys -> command mappings:
| Key | Command |
|---|---|
| Arrow Up | Forward |
| Arrow Down | Reverse |
| Arrow Left | Turn Left |
| Arrow Right | Turn Right |
| Space | Stop |
| q | Quit |
var keypress = require("keypress");
var five = require("johnny-five");
var Sumobot = require("sumobot")(five);

keypress(process.stdin);

var board = new five.Board();

board.on("ready", function() {

  console.log("Welcome to Sumobot Jr!");

  // Initialize a new Sumobot.
  // - Left Servo is attached to pin 9
  // - Right Servo is attached to pin 10
  // - Speed set to 0.50 (half of max speed)
  //
  var bot = new Sumobot({
    left: 9,
    right: 10,
    speed: 0.50
  });

  // Maps key names to bot methods
  var actions = {
    up: "fwd",
    down: "rev",
    left: "left",
    right: "right",
    space: "stop"
  };

  // Ensure the bot is stopped
  bot.stop();

  // A bit of keypress ceremony ;)
  process.stdin.resume();
  process.stdin.setEncoding("utf8");
  process.stdin.setRawMode(true);

  process.stdin.on("keypress", function(ch, key) {
    var action;

    if (!key) {
      return;
    }

    action = actions[key.name] || key.name;

    if (action == "q") {
      console.log("Quitting");
      bot.stop();
      setTimeout(process.exit, 500);
    }

    if (bot[action]) {
      bot[action]();
    }
  });
});
Next Steps
Now that you know how to control the SumoBot, think about ways that you might want to extend its capabilities. In the final article of this series, I will introduce some simple customizations that will add some interesting character to your project.